Sims 3:Creating a game compatible Visual Studio project
From SimsWiki
Contents |
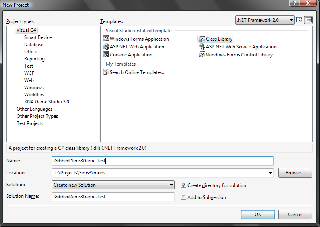
Step 1: Create a New Project
- Set the framework version to .NET Framework 2.0.
- Use the Visual C# Class Library template.
- Preferably prefix the name of the library with your name / handle. Eg, Gibbed.Sims3Game.Test is what I would use. —Rick
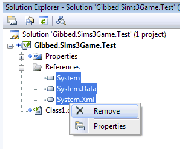
Step 2: Remove all existing references
- Select all references, this is usually System, System.Data, and System.Xml..
- Right-click the selected references, and select Remove.
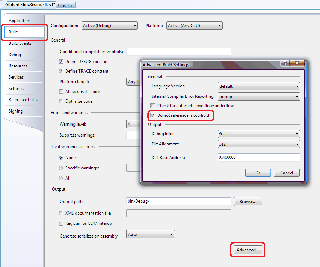
Step 3: Set the project to not reference mscorlib.dll
- Open the project properties.
- Set the active configuraiton to All Configurations.
- Change to the Build tab.
- Click Advanced to open the Advanced Build Settings window.
- Check Do not reference mscorlib.dll and click OK.
Step 4: Add references to the Sims 3 assemblies
You will need to have already extracted and decrypted the Sims 3 assemblies to do this step. See Getting Started with Scripting Modding if you haven't done this already.
- Right-click the References item in the Solution Explorer.
- Select Add Reference....
- Select the Browse tab.
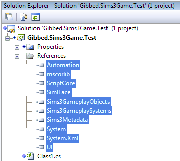
- Select all of the Sims 3 assemblies. The assemblies you want to add are mscorlib, ScriptCore, SimIFace, Sims3GameplayObjects, Sims3GameplaySystems, Sims3StoreObjects, Sims3Metadata, System, System.Xml, and UI.
- Click OK.
Step 5: Set the references to not Copy Local
- Select all references.
- Set the Copy Local property to False.
Step 6: Fin
You're now ready for coding. :)


