Sims 3:Basic Mask Editing
Contents |
RGB Masks
Masks can be thought of as the "painter's tape" of the game. The game uses masks to map out separate colorable regions in Create A Style. These regions allow for multicolored/patterned parts on your CAS part and/or object.
What This Tutorial Will Do
- Teach you how to make color masks for the Sims 3.
What This Tutorial Will Not Do
- Make new meshes or patterns for the Sims 3.
- Create new base textures or add transparency.
-
 Take a look at Creating A New Base Texture for that.
- Create a CAS part stencil
-
 Take a look at Creating Custom Clothing Stencils for that.
Difficulty
I've made this tutorial for beginners and first timers, however, some basic knowledge on how to use your imaging program is needed.
What You'll Need
- Adobe Photoshop (purchase) or GIMP 2.0 (free)
- Delphy's CAS Texture Unitool
- DDS Plug-in for Photoshop or GIMP
(I'll be using Photoshop 7.0, so if you're using GIMP the screen shots will be different but the concept is the same.)
The Anatomy of the RGB Mask
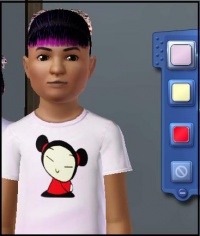
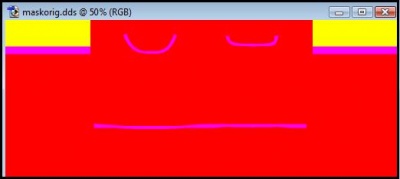
Before you dive in and create your new mask, it's best to get familiar with how these things work.So, let's take this t-shirt and break down the different parts of its mask.
Channels
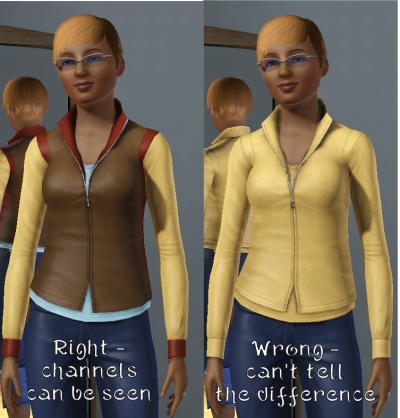
Like patterns, the game uses color channels to break up the CAS part into different colorable regions. The red channel is almost always used as the main background color whereas the green and blue channels are used to define smaller regions and detail. Although it's not pictured, the alpha channel can also be used to add a fourth recolorable zone.
Defining Colors
To create the color channels you could edit directly on the channels themselves. However, by painting with certain colors, you can create the channels automatically.
- The first color you use is red (255R/0G/0B). Notice how red is the predominate color, that's because it maps the main color of the t-shirt.
- The second color you use is yellow (255R/255G/0B). Yellow maps the t-shirt sleeves.
- The third color you use is magenta (255R/0G/255B). Magenta maps the collar and trim of the t-shirt.
Unfortunately, there is no "shortcut" to create the alpha channel, so you'll have to edit it directly.
Notice how each different color creates a different channel: red creates the red channel, yellow creates the green channel and magenta creates the blue channel.
The Tutorial
With this tutorial, I'm going to create the Pucca shirt pictured at the beginning of the tutorial. The shirt is going to have three color regions: the shirt as a whole, Pucca's face and Pucca's shirt.
I find the easiest way to create a mask is to simply draw on the base texture, so open up the base texture for your design in an imaging program. If you do not already have a base texture, follow the steps for extracting one below.
Part I: Extracting the Base Texture
Step 1
Open the CAS Texture Unitool (CTU).
Step 2
In the "Find A Mesh" tab, set the mesh details to the parameters of the mesh you wish to change the base texture of. Next choose the mesh you want to use from the drop down list. I'll be using the cfTopShirtTee mesh found under Child-Female-Top.
Step 3
Move over to the "Designs" tab and click "Add New Design".
Step 4
Under the "Other Details" sub-tab click the base texture key to highlight it.
Step 5
Being sure that the base texture key is highlighted, click on the "find" button at the bottom of the window.
Step 6
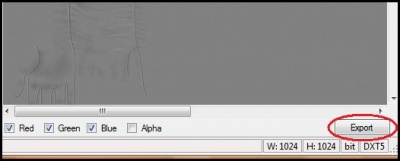
A DDS Preview window should pop up. Click the Export button at the bottom right corner of the preview window. Choose a destination for the file, give it a name, then save it.
Part II: Editing
Open up the newly exported DDS file in your image editor. If asked, load default sizes and do not generate MIPmaps.
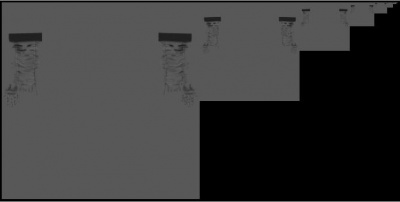
Note: If you get an image that looks like the one below, then you accidentally generated the MIPmaps. Close the file and reopen it, being sure to NOT LOAD MIPMAPS!
