MTS2:Screen Shots 101 - Better Picture Taking
Contents |
Screen Shots 101 - Better Picture Taking
Screen shots are an important part of downloads. It's your one and only opportunity to catch someone's attention when you've created or recolored an object. If you're into sharing your pictures in contest or community forums, image quality is important as well.
Taking in game pictures is just a matter of using the camera icon, but CAS will require that you use the "print screen" option. The above link at the end explains how this is done if you are unfamiliar with this option.
Getting the right camera angle is easy. Simply hit the tab key and move the mouse to change your point of view. Hit tab again when you find the view that works the best. When you have your shot lined up, just click the camera icon. This may seem awkward at first, so you may want to experiment with it to see the different results.
1. Before taking any pictures
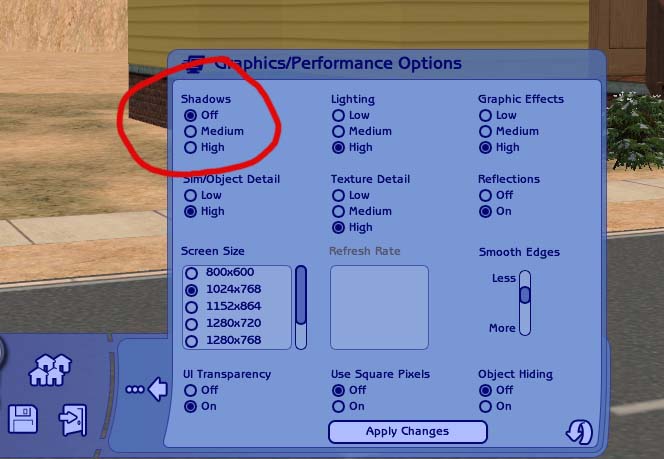
Take a moment to turn shadows off:
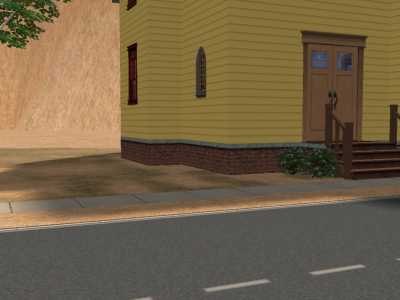
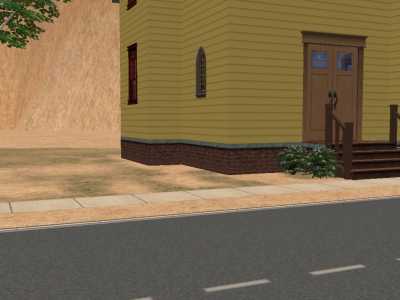
You'll notice a big improvement in detail.
2. Lighting
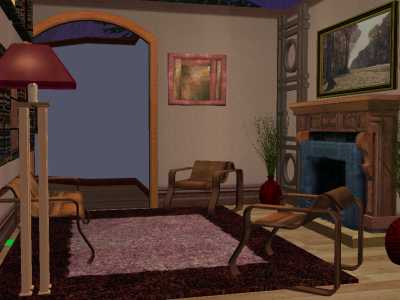
Lighting is very important. While this looked fine to me as I was playing, you can see it's way too dark to see any details.
[Regularroom.jpg|center]
Even the normal room lighting doesn't bring out the best detail:
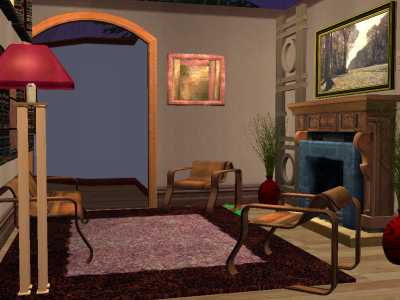
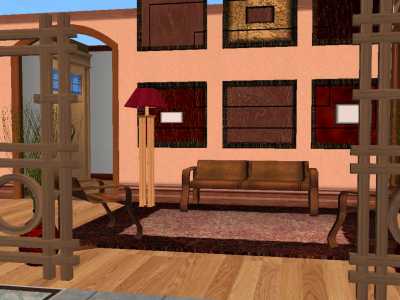
Add lots of extra lighting to show off everything at its best. You can always remove them when you're done:
Another good options are the "hidden" Maxis lights that you see in CAS. You can download them here:
[Spotlight.jpg|center]
3. Deconstruction
If you want to show off a room or a collection of items, you can remove a wall and let the natural light in. Again, you can just use undo after you've taken the picture:
4. The great outdoors
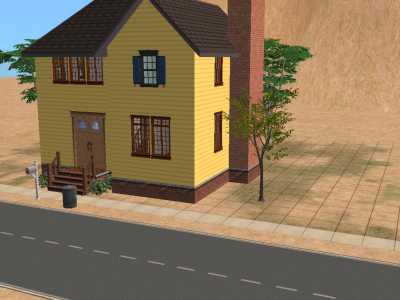
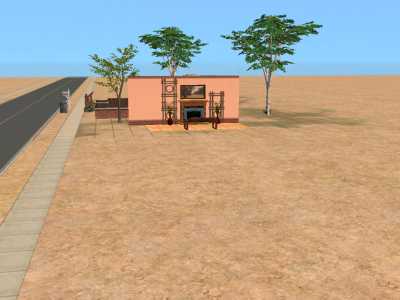
This is a another option, and only takes a moment to set up. When you look at your house, you may notice that one side has much more sun than the other. This is the side you'll want to use:
A simple section of wall and floor makes a great backdrop for your items:
5. Long distance is only for phone service
Don't zoom out too far. While you can see everything here, you can't see the important details:
6. I'm ready for my closeup
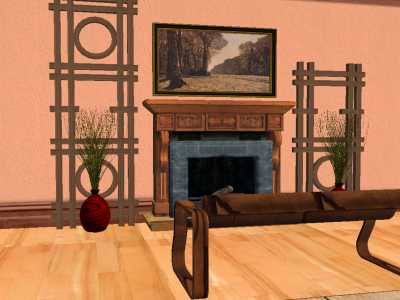
Use the tab key and the mouse to zoom in as close as possible at the best angle. More detail makes your item look more attractive and gives the downloader a better idea of what they're getting.
7. Don't use thumbnails
When looking through your Storytelling folder, you will want the snapshots, not the thumbnails. Thumbnails are very small and hard to see even on the best monitor. Moderated uploads are rejected when only thumbnails are provided. These examples should show you how small thumbnails look in comparison to the other pictures:
8. The "must have" list for Sim upload submissions
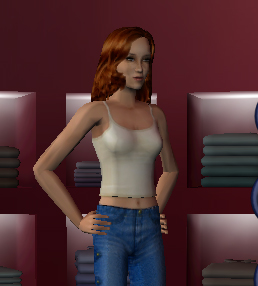
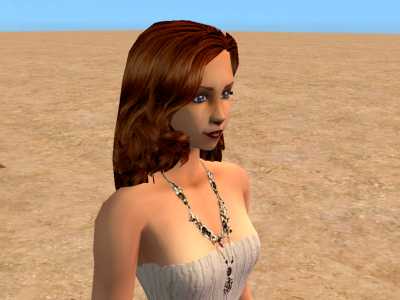
When taking pics of Sims, it's always best to take one on an actual lot rather than in Body Shop. Lots of important details get lost in the dark background. BodyShop photos are not a very accurate representation of the Sim. Also, BodyShop pictures mean instant rejection for your uploaded Sim. These two photos will show you what a big difference there is.
This is Alexa in BodyShop:
This is Alexa in her home:
If you're submitting a Sim with new or recolored hair, makeup or other genetics, it's vital to have a good clear closeup of what it looks like:
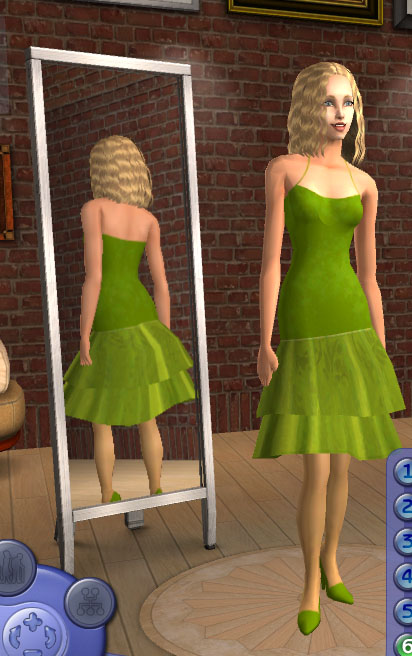
If you've created or recolored clothing, a good full body shot is necessary:
Both of these pictures are strongly recommended for use with your submission.
9. Create your own "studio"
A small vacant lot is the ideal location for a photo shoot. It's easy to setup a basic outdoor backdrop. You can also use this location for taking in-game pics of yours Sims to be uploaded. Just setup a few wall and floor sections, add some furniture and you can easily give off the apperance of being in a furnished house.
10. Removing grid lines
Thanks to General Oohoh for reminding me to add this.
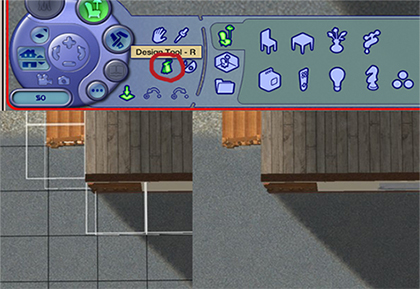
To remove grid lines, just hit the Design Tool on the menu bar. This will make your pics look so much cleaner.. especially helpful when you are showing off the floor plan of a house.
11. Using First Person Camera Mode
To be able to take screen shots from a variety of angles, and get great closeups, you will find the first-person camera very handy. It takes some practice to get used to it, but once you know how, you'll find it easy to get exactly the shot you want.
If you are taking photos of your sims, pause them when they are in an appropriate pose, and then go into first person camera mode to move around and capture the perfect shot.
To open the first-person camera mode, hit Tab. (Note: if you hit tab in Buy or Build modes, you will see ugly grid lines in your view. To get rid of the grid lines, enter Options or Sim mode first, then hit Tab). The game HUD interface vanishes, and you'll find that when you move your mouse, your view changes.
Moving your mouse is the equivalent of turning your head. Your relative position does not change -- only your line of sight changes.
- To move forward, backward, left, or right, use your arrow keys.
- To float up, press E.
- To sink down, press Q.
- To take a screenshot, press C.
Pressing Tab again takes you out of first person mode and puts you back into normal Sim/Buy/Build/Options mode views. It takes a while to become accustomed to this feature, but it comes in handy when you want to take detailed screenies!
You will need to access the Storytelling folder, located in one of these locations:
For TS2 users: C:\Documents and Settings\xxxx\My Documents\EA Games\The Sims 2\Storytelling For University users: C:\Documents and Settings\xxxx\My Documents\EA Games\The Sims 2\Neighborhoods\N00x\Storytelling Typically Pleasantview is N001, Strangetown is N002, etc. The easiest way there is to click My Documents and look for the EA Games folder.
Regular screen shots are usually fine. But if you are experiencing problem with poor quality images, this link can help you.
This general guide to making and sharing screen shots contains lots of useful advice on making the most out of your pictures.
