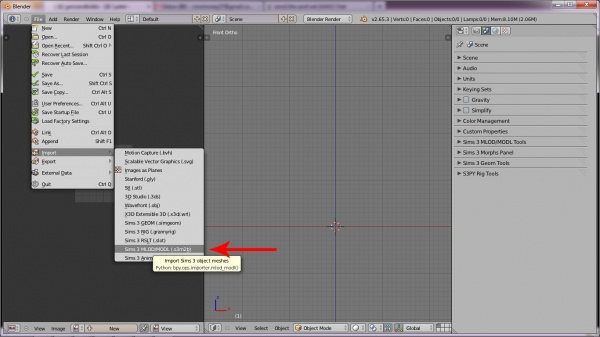
Difference between revisions of "Tutorials:Simple Mesh Replacement In Blender-Importing MLOD And Images"
From SimsWiki
(→Step 6) |
(→Step 6) |
||
| Line 27: | Line 27: | ||
|- | |- | ||
| − | !align="left" style="font-weight:normal" |[[Tutorials:Simple_Mesh_Replacement_In_Blender- | + | !align="left" style="font-weight:normal" |[[Tutorials:Simple_Mesh_Replacement_In_Blender-Collecting_Resources|<<Back]] |
|align="right"|[[Tutorials:Simple_Mesh_Replacement_In_Blender-Creating_The_New_Mesh|Next>>]] | |align="right"|[[Tutorials:Simple_Mesh_Replacement_In_Blender-Creating_The_New_Mesh|Next>>]] | ||
|} | |} | ||
|} | |} | ||
|} | |} | ||
Latest revision as of 00:08, 23 January 2013
|


