Tutorials:Making a Sims 3 Tattoo
Contents |
Making a Sims 3 Tattoo
Want your sims to get some nice ink? Here's the basic steps to create a nice tattoo that works well in the game and looks good.
You Will Need
- CTU - To grab one of the game's meshes to import so you have a basic skeleton, and to look at the game's original textures.
- .NET 3.5 - Required for CTU. You need .NET 3.5, not 2.0 or any other version.
- Body Textures and UV Maps - To use in scaling and aligning your textures.
- DDS Plugins for Photoshop, GIMP, Paint Shop Pro, or whichever program you use to edit graphics - For creating and editing the textures you will need to make. Instructions are given for Photoshop CS3 - you may have to do some Googling for tutorials and tips on making it work in your program of choice. You will, of course, already need whatever graphics program too.
Difficulty Level
Easy to Medium - This probably shouldn't be your absolute first project, but is relatively easy to do once you get the hang of the basics of DDS files, textures, CTU, etc.
The Tutorial
Okay, let's get started! Please note that all images below may be clicked for larger versions and are not shown full-size on this page!
Your Tattoo Design
First, you need to have an idea of what type of tattoo you want to make. This is -much- easier if you use a "flash" tattoo design as your base. That is, a drawing of one, not a picture of someone's tattoo on their body. It's much easier to separate the parts of the image that way. If you -do- use a pic from a body, you'll probably have to do a lot more work to get it to look nice, and I'm not going into that here. Make it easy on yourself, and choose a flash design.
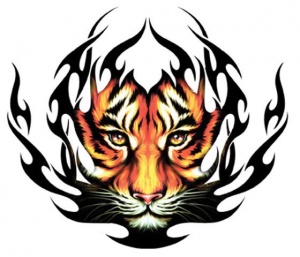
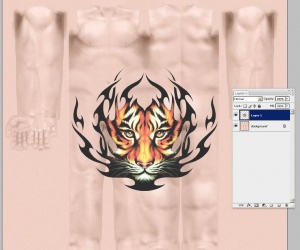
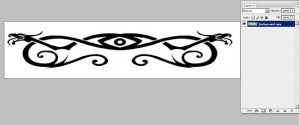
Here are the two designs that will be demonstrated in this tutorial:
Note that the images above are -not- shown full-size. If you click on them, you'll see that they're much larger. It's very important that you work with nice, big pictures. You can scale them down to fit on the sim's body, but you can't scale them up or they'll look blurry and bad. Also note how nice and sharp the edges look - it will make them much easier to cut out this way. Don't use small, blurry images - you'll spend more time trying to fix them than if you just went and found better source images to start with.
Colour Design
We'll start with the design with colour on it. As this is a back tattoo which doesn't reach around the sides or shoulders, there are no seams to worry about.
Prepare Design
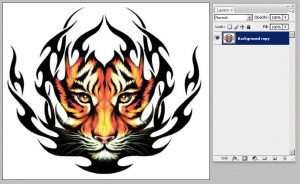
To start, we need to remove the background, and to tweak the colour.
Expand Selection: Unless you have a perfect black and white outline, you probably still have just a smidgen of lighter pixels around the edges. So do Select > Modify > Expand. Set it to 1 pixel. This will add one pixel to the selection edges all around, to remove any lighter edge. This also makes it very important to have a nice big image, or losing that pixel around the edge might actually be an issue.
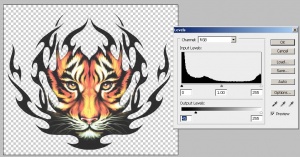
To fix this, you need to adjust it so the black and near-black parts of the image are a dark grey. Image > Adjustments > Levels, and drag the black arrow under Output Levels over toward the right somewhat, as shown. You'll see the dark areas of the image lighten somewhat. Exactly how much you move it depends on your original image, but dragging it 1/5 to 1/4 of the way is probably about right.
Once the background is removed and the black is adjusted, the design is ready to be placed as a texture.
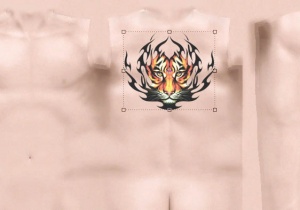
Place Design as Texture
Now that you've got your design cut out from the background, you need to place it properly so it can work as a tattoo texture.
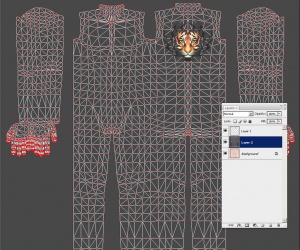
Place on Skin: Copy the separate layer you made in the previous set of steps, and paste it on top of the skin texture as a new layer. This skin texture is called Male-Body-Texture.bmp is included in the "Body Textures and UV Maps" RAR file that was linked under the You Will Need section at the beginning. There's a female version in that file too. Putting it on the skin texture will make positioning and alignment much easier.
Now you can either skip ahead to the Finish Texture section, or continue on to learn how to make an armband.
Black and White Design
This design is a little bit easier to adjust the textures at first, but then it will get a bit more complicated, since we have to worry about where the seams will be.
Prepare Design
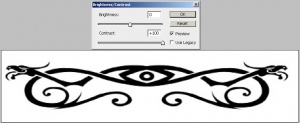
As with the first design, the first step is to get the black part separated from the white background, and to fix the colours.
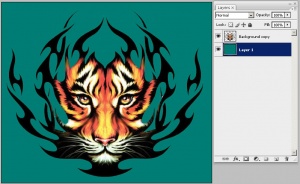
Create another layer in a different, contrasting colour (not white!) behind it. This will allow you to see exactly what your design looks like now. You can use a small eraser brush to fix any areas that need work - in this case, the faces of the dragon heads on either side were too small to be selected with the Magic Wand, so they'll need to be erased enough to see them. Make sure to unlock the transparency before erasing. Delete the background colour layer when you're done - you don't need it anymore.
With the background removed and the black adjusted, you can place it on the skin...
Place Design as Texture
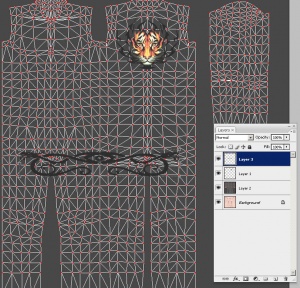
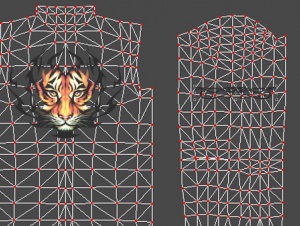
This design is a little different - we're going to be placing it on the arm, and finding where the edges of the texture are is pretty important, or it'll look bad with a funky seam in-game.
Finish Texture
Now that both tattoos are placed on the skin, it's time to fix it up into a proper texture so it can be made into a DDS file that can work in the game.
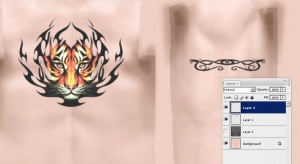
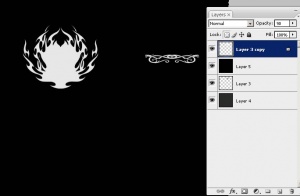
Combine Layers: If you have multiple tattoos (as in this tutorial), combine them all into one layer.
Delete Other Layers: Delete any UV map or skin texture layers that are still in your document. They were just for aligning your tattoos properly but they will not be used in your final texture.
Add Background: Create a new layer behind your tattoos. Fill this layer with dark grey. RGB 46.46.46 is a good value to use.
Copy Into New Document: Select all, Copy Merged (CTRL-SHIFT-C). Create a new 1024x1024 document and paste it as a new layer, and then Merge Down (CTRL-E) to flatten it into the background.
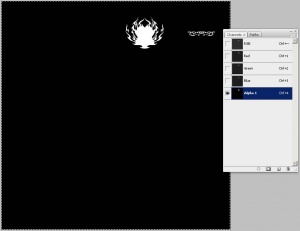
Select the white layer, and change its opacity to 90%. This makes it so that the skin texture will show through a little bit when you use the tattoo in the game. In real life, any underlying texture of skin will show through, and for a nice sim tattoo, making your alpha not fully opaque will help with that effect. This, in combination with not using pure black for your tattoo, should make it look very realistic.
Select all and Copy Merged.
Save DDS
Now that you have your texture all done, you can save your DDS file.
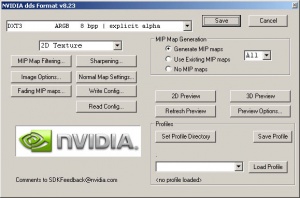
Save: Save As. Choose DDS as your file type, and name it something descriptive. Under Save Options, underneath where you type the filename, make sure Alpha Channels is checked. On the DDS popup, choose DXT3 ARGB explicit alpha as your file type, and click Save.
CTU
After the texture's all done and dusted, all you have left to do is get it to work in-game.
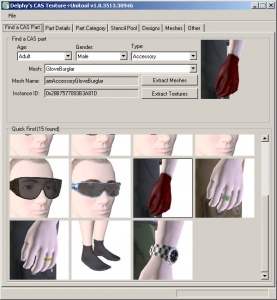
Load CTU.
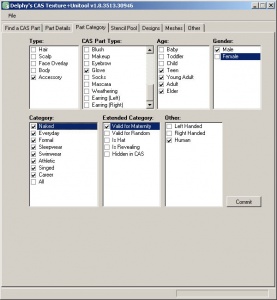
- Type: Accessory. Leave this alone.
- CASPart Type: Glove. Leave this alone too. This means the accessory won't be able to be worn with any other gloves, but will work with everything else.
- Age: Teen through Elder. You can change which it's available for, but the UV mapping will be different for younger ages, so teen through elder is safest.
- Gender: Male, Female, or Both. This is your choice. Mapping is pretty similar for both genders, but if you have a reason to only have it work for one gender or the other, only choose one.
- Category: Tick everything here except All! All doesn't seem to work properly but you don't want your sim to lose their tattoo in any other clothing types, etc.
- Extended Category: Valid for Maternity. This will make it so sims don't lose their tattoos when pregnant. Don't tick anything else except maybe Valid for Random, which will make it show up on randomly generated townies and NPCs, if you want that.
- Other: Human. Leave this alone.
Make sure to click Commit if you've changed anything here.
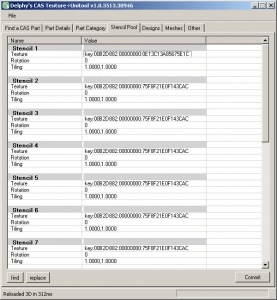
You can, of course, repeat this for the other items in the Stencil Pool tab for however many other tattoos you may want to use. By doing them all in one file, they'll all share a line in Create a Sim rather than taking up multiple lines.
Make sure to hit Commit.
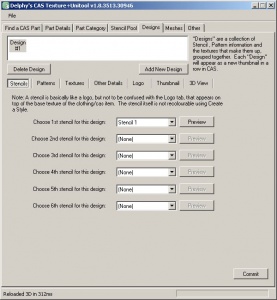
If you have multiple tattoos that you added to the Stencil Pool, you can select 2, 3, 4, etc., on the other lines here too.
Again, be sure to click Commit.
If you wish to do this, tick "Use Custom Thumbnail" and then choose your PNG file.
Yet again, click Commit once you've done this.
