Tutorials:Seamless Textures
This tutorial will explain the basic techniques for creating seamless textures from non-seamless images. This is a great technique for making wallpapers, floors, and fabrics for skinning - among other applications, of course.
Finding the Right Source Image
Locating source images is always an interesting treasure hunt. The best place to start is Google - both Google Image Search and Google itself are great resources for finding source images. Finding exactly what you want can be tricky, but here's some tips:
- Try both Google and Google Image Search (GIS) for each of your searches. You may come up with nothing on one, and great stuff on the other.
- Be specific. "Wallpaper" will give you way too much stuff, but "damask wallpaper" or "striped wallpaper" may begin to give you some good hits.
- Try a variety of keywords, and just keep trying different variations. Try to think of different applications and things something might be called - "sweater" may not find you really usable pics, but "knit" and "knitted" may be better.
- If you find that you're getting a lot of good pics with a certain keyword in GIS, but they're all too small and far away, try adding the word "close" to your search. For example, if you were doing well with "damask fabric" but want more closeups try searching for "damask fabric close" instead.
- Think outside the box. Just because you're making wallpaper doesn't mean you can't use a fabric image as your source as long as it's appropriate in overall look.
- GIS is a great way to get an idea of what kind of images you'll be getting from a site - so if you notice one really good pic, go to the main site where the pic is located and see if they have more good stuff. You'll often find your best sites by stumbling across one image on GIS.
- Bookmark the best sites, with a descriptive name in your bookmarks (i.e. "Site Name - Really great retro fabrics!") and keep them in folders. Then you don't have to start searching from scratch for every project.
Repeats
First, and most importantly, you'll need a texture with at least one full repeat that you want to make seamless.
A repeat simply means that you have a full panel of texture, the whole thing, and aren't missing any parts. If your source image has part of a flower cropped off, and that flower doesn't appear again in the rest of the texture that same way, you aren't going to be able to make a seamless texture - you don't have a full repeat.
It'll take some skill and practice to identify a repeat, and even after you've been doing it a while, you may still find you've already got something halfway through editing to seamless before you realize you have a small hole that you don't have a repeat for.
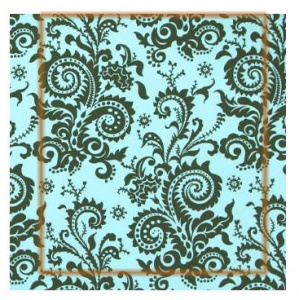
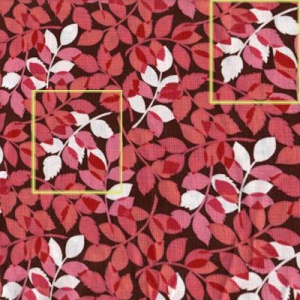
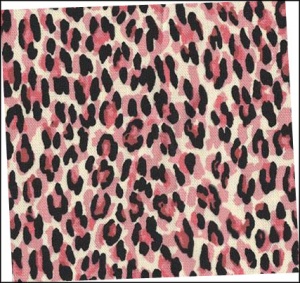
For some textures, identifying a repeat is easy:
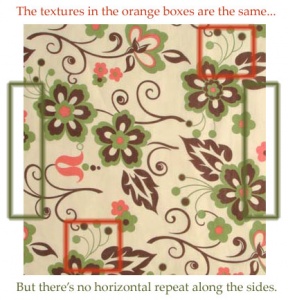
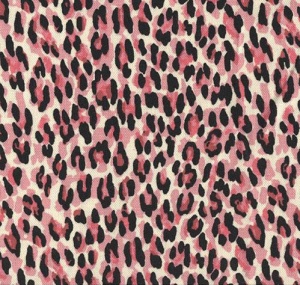
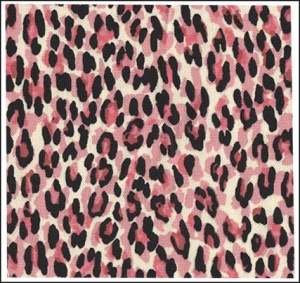
And for others, seeing that you don't have a full repeat can be a bit more tricky:
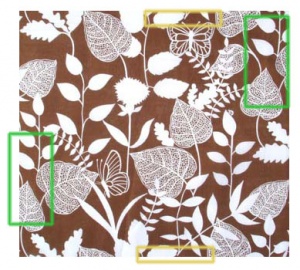
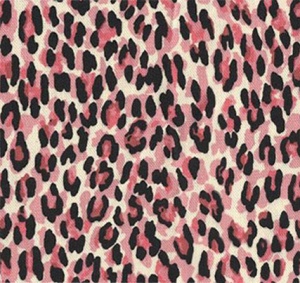
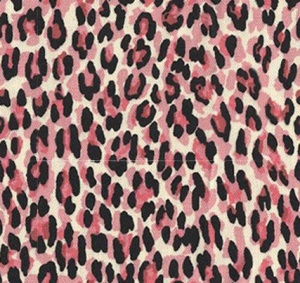
You want to make sure that you have both a horizontal and vertical repeat... and sometimes when you just barely have one with a complex pattern, seeing that there's a full repeat there is difficult:
Size
You also need to make sure you have source images that are big enough for what you're going to be using them for. For creating sims stuff, we have a bit of an advantage, as most of our textures are on a fairly small scale - you'll generally find yourself scaling things down, not up. If your source image is too small and you try to scale it up, it'll look blurry and crunchy and awful.
Quality
Again, being able to scale down for a lot of sim stuff can make this not as important as other applications, but if your source image is blurry and crunchy and weird, your textures will not come out looking too nice either.
Overall Even Tone
This one is VERY important for making any seamless texture. You need to have an even tone to the image - it can't get darker toward the top and lighter toward the bottom due to the way the person taking the picture was holding the camera, or the lighting, or suchlike. You need to be able to match up parts in the image, so it has to be nice and even overall.
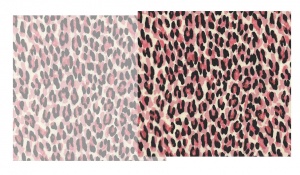
Dark or light areas may take what would have been a pretty easy image to make seamless and make it really hard to do without a whole lot of extra work:
Skew
Your image should be as close to straight up and down as possible, with no skewed distortion. It's okay if it's rotated - but actual distortion like ripples, stretching of fabric, or strange perspective due to camera angle should be avoided as much as possible.
You can see in this image, corresponding areas of the pattern do not match in size and shape very well - this would be an extremely difficult images to make seamless as a result.
Editing
Okay, we have a good image to make seamless, and it's time to edit it up:
I'm using Photoshop CS2, and I'll be referring to commands within CS2 here. However, basic techniques I'm talking about here should work in any program that has support for multiple layers with different opacities and a variety of brushes - i.e. most any graphics program worth using.
Set Up the Canvas
- Go ahead and open up your image that you want to edit.
- Select all, and cut. This will empty the canvas.
- Resize the image, 400% width and height. This will give you a nice big canvas with plenty of room to edit in any direction.
- Now paste your image back into the document so it's sitting in the center of the background, on a new layer of its own.
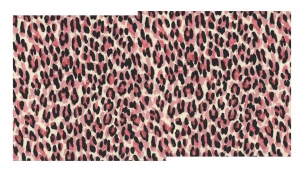
You should have something that looks a lot like this now:
Adding Pieces
- Paste your source image into your document again, once again on a new layer so you have two copies.
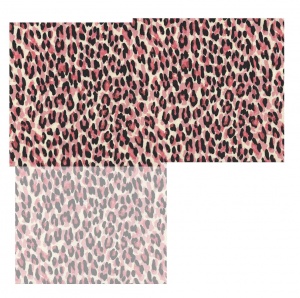
- Change the opacity of the new layer to 50% and drag it so it's sitting off to the side, on top of the existing layer. You'll notice you can see the pattern of the layer underneath...
- Drag the new layer until its matches up with the layer underneath. It may not match up exactly, but adjust it carefully, using the arrow keys on your keyboard to move the layer pixel by pixel, until it's as clear as possible in the area where the two overlap.
- Now change your new layer back to full 100% opacity.
- Use a largeish fuzzy brush at about 50% opacity to erase along the seam. Be careful not to erase too far - if you start seeing the edge of the background behind the image at all, undo! This is best done sparingly, in little dots and bits rather than a long sweep along the edge. Sometimes you don't have to do it at all, and other times you'll need to gently erase in little bits along that whole edge to get a good blend. Try a few test clicks here and there, and don't be afraid to undo it and try something else.
- When you're done, you should have an invisible seam.
- You should still have the original image copied, so paste it into the document again as a third layer. Again, change this new layer to 50% opacity and move it off to the side.
- Then, match it up like you did the first one, watching the pattern and nudging that layer until the pattern becomes clear.
- As before, change the layer back to 100% opacity.
- Then use a large fuzzy eraser to gently, carefully erase along the seam, being careful not to take off too much.
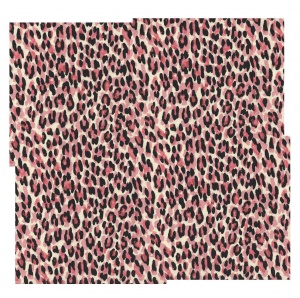
- Repeat the same steps for the last piece: put a fresh copy down, make it see-through, move it into place, change it back to opaque, then blend.
- You should now have a nice solid block of texture to work with:
Getting the Seamless Piece
Okay, well, now you have a big chunk of texture, and you could just keep adding and blending to make bigger pieces, but let's get a nice piece that can easily tile.
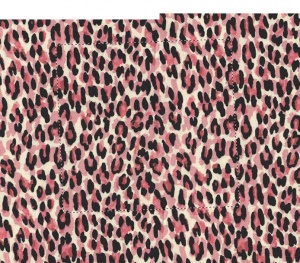
- Start by taking a good long look at your texture. You need to identify four points that are identical to mark out the edges of one full repeat. Use the pattern as a guide. Generally, using a little pointy bit of texture as your four points is best if you can, as you can be nice and precise. You can see how I've done so in my example, marking the the pointy end of the blob of creamy colour. (You're gonna have to click on the image and zoom in to see the selection edges.)
- Go ahead and copy the selection (in Photoshop you'll need to Copy Merged to get all the layers together), make a new document, and paste the selection into it as a new layer.
You'll notice that the image is a little tilty. That's okay.
- Rotate the layer until it's more or less square.
You may now notice that even though it's more or less square, it's still not perfect - in my example, the top left corner tilts in toward the left too much compared to the bottom left corner, and might be a little too far down as well.
- Under the Edit Menu, Transform - Distort in Photoshop will allow you to grab each corner around the selection and move them independently. I generally like to do one corner at a time, moving it into place until the texture is right up against the edge of the image, let it apply, and make sure it's okay (as sometimes it's a pixel off or so) before doing the next one. Doing it one corner at a time can blur the image more than doing them all at once, but if your image is large enough and you'll still be sizing it down, it's probably the best way.
Now we've got what looks like a seamless texture, but there still may be some stray bits from the distortion that are floating around the edges of the image, and it might not actually be seamless yet. Let's check.
- Select All and Copy.
- Make a new document and paste the copied selection into it.
- Filter - Other - Offset. This will bring up the Offset filter. Drag the horizontal and vertical bars either way a little - doesn't really matter, you just want it to be different than 0. This will allow you to see your seams, and to see if you've gotten them matched up perfectly.
- In my texture, the vertical seam is nearly imperceptible... the horizontal seam is somewhat white, which is due to the white background layer behind it, and the fact that either the top or bottom edge isn't completely solid. You can usually correct for this by using the eyedropper tool to sample the background colour from your texture, then fill the background layer behind your texture in the document.
- But for now, just undo - you don't want to actually offset it, just use this to preview.
- If you had a little too much on any one edge and it looked like there was a little double edge along the seams, you can use the rectangle select tool to select most of the image, leaving off a pixel or two along that edge, crop, and try offsetting again. Take off a bit at a time until it matches up.
- If you found you were missing pieces rather than had too much, go back to the big chunk of texture you made and select four points again, trying to grab a little more - you can always cut off some if you need to. Make a new document, rotate, and try offsetting it again.
- If you were experiencing that white line issue, try that tip mentioned above now - sample the background colour and fill the background layer behind your texture with it. It may help some. If it doesn't, try resizing the image down a little bit. Usually once you get it onto your document where you'll actually be using it, it's not that noticeable.
With any luck, you should now have a nice piece of texture that you can duplicate numerous times to fill whatever size area you like.
Remember to scale the texture to an appropriate size for whatever you're using it for - you wouldn't use the same size texture on a wallpaper, a couch, and a dress, and the textures should be sim-sized.
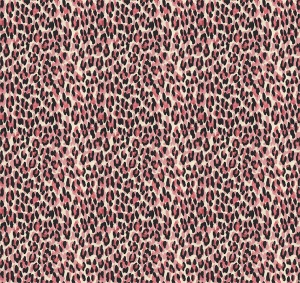
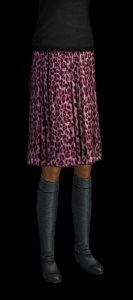
Here's that same texture, manipulated a bit, on a skirt:
If something went wrong...
The most common thing that'll happen with this technique is... somewhere along the way, something just won't match up. You'll suddenly realize there's a skew you didn't see before, or you're missing a tiny piece of texture that makes for a full repeat.
Usually the best thing to do at that point, if you can't identify somewhere you might have messed up causing the problem, is to just find a different source image. There's a lot of great patterns out there - don't drive yourself nuts on one that just isn't going to work.
You may be able to use an alternate technique, though, depending on what the pattern is...
Alternate Technique
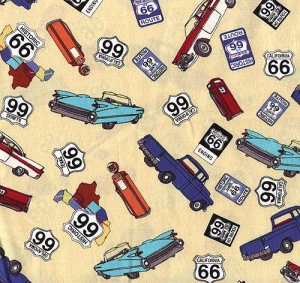
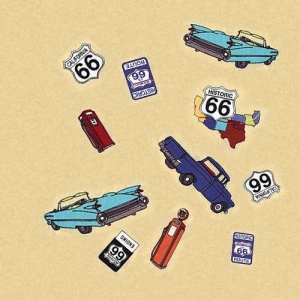
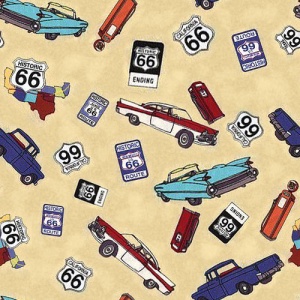
If you have a pattern like this one below, where there is clearly no obvious repeat, but there's a fairly solid background with a bunch of different separate elements (in this case cars and signs and stuff but it could be anything) you can just recreate a different version of the pattern by using the pieces...
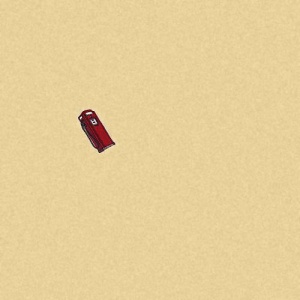
- Start by creating a nice big new document - mine's 500x500 pixels. Sample the background colour from the source image and bucket fill your new document with that. If you're doing fabric, try adding some monochromatic noise to add a bit of texture, then do a gaussian blur at a low level to soften it.
- Go back to your source document and use the polygon select tool to select around one of the shapes, making sure to contain it fully.
- If you can, feather or fade the edges of your selection. In Photoshop, you can either do that up on the tool properties bar before you select with the polygon select tool, or Select - Feather after making your selection. Choose a low level of about 2 pixels... just enough so you don't have a really hard edge.
- Copy your selection, and paste it into your new document.
- If you need to, use a small eraser brush with a fuzzy edge and erase little bits around the edges of your piece to make sure it blends properly.
- Repeat until you get a fairly even coverage over the center of your image. Don't do the edges yet - leave plenty of room there.
- When you've got it nicely filled, go ahead and flatten your layers so it's just one solid layer.
- Filter - Other - Offset and drag the sliders until you have a nice empty space in your image.
- Continue adding pieces from your source image to the empty spaces.
- When you've got it covered, flatten the image again, and offset again.
- If you notice any areas that still have blank spots, add another piece or two to fill them in.
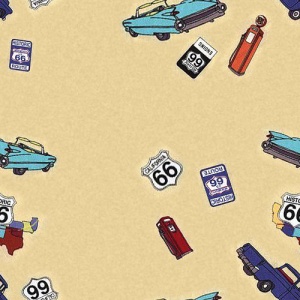
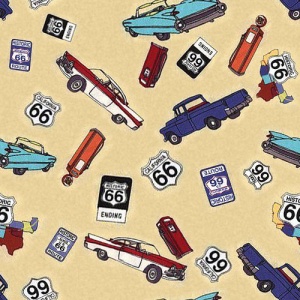
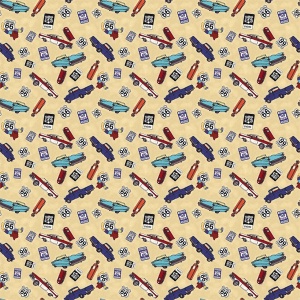
A few touches here and there with a scratchy brush to put down some blobs of light yellow on the background, and we have a nice reproduction of the original, fully seamless, ready to be used on... well, who knows what you'd use this print on, but I like classic cars so I thought it'd be good to demonstrate with.
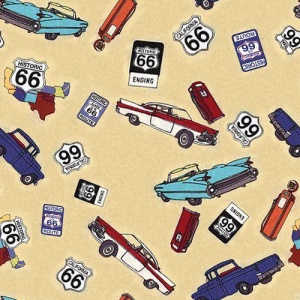
Looks pretty decent when tiling, too...
Where to go from here...
- Clothing: Want to learn how to take that seamless texture and put it on a skirt with realistic folds and shading and stuff like my example above? Check out Beyond Photoskinning: Transformation and Displacement Mapping in Photoshop
- Walls and Floors: Easy and fun to make and a great way to exercise your use of seamless textures. See: How to Create Walls, Floors, and Ground Cover
