Tutorials:TS3 Understanding Roof Textures
| Tutorials by Category | |
|---|---|
|
CAS | Patterns | Objects | Building | Worlds | Modding | Modding Reference |
Understanding Roof Textures
Contents |
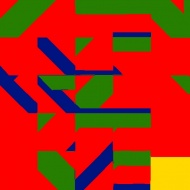
WTF. What kind of a map is this?
A bad one. Not only is this map beyond confusing at first glance, it is all packed in and seemingly impossible to edit. This is, however, where you are wrong! This little section here is to prepare you before you try to make your first roof. By knowing a few tips about the roof, you will be less overwhelmed with the process and, hopefully, you will change your mind about the difficulty after this!
Tips
1 - The map you will be adding your new colors to will be 512x512.
2 - The 512x512 map is actually smaller, 102x102 maps repeated 5 times. There are an extra two pixels at the bottom of the image.
3 - By editing out the border pieces, creating a texture, then placing the border pieces back in, you can make a seamless texture out of anything!
4 - Each part of the map lines up to a piece on the roof in a predictable way. Don't be too intimidated!
Pictures
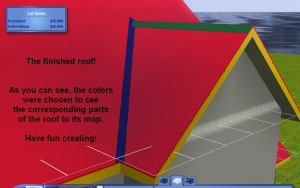
Here are two images showing what parts of the map line up to where. As you can see, it is easier than it looks. All that is required is patience!
Creating A New Roof!
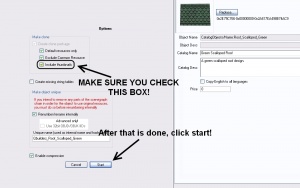
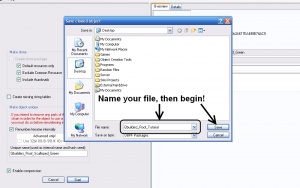
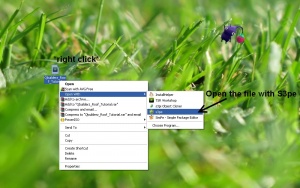
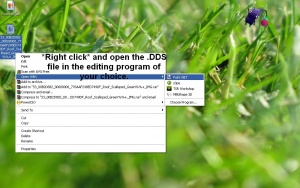
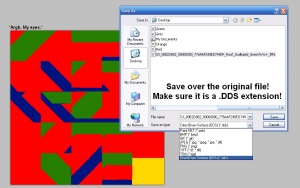
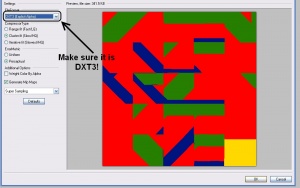
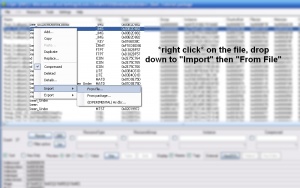
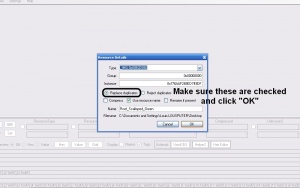
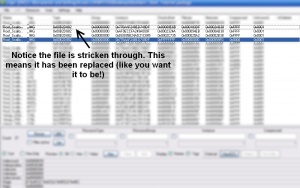
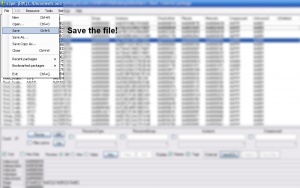
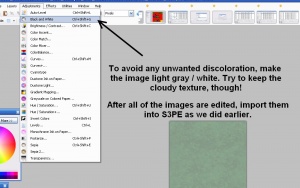
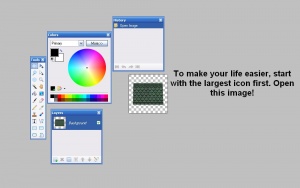
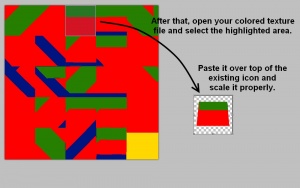
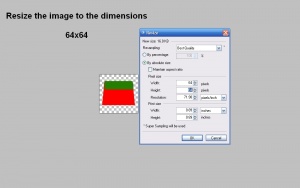
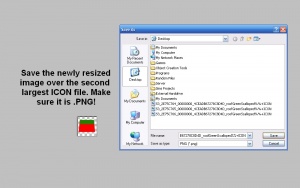
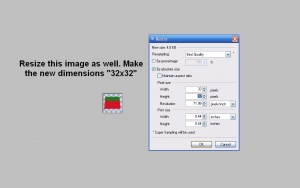
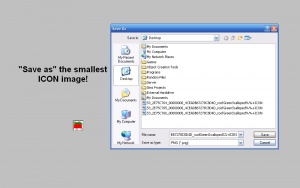
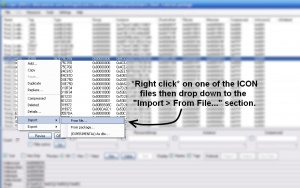
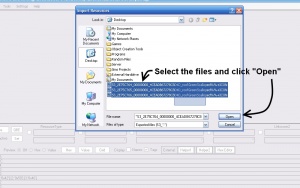
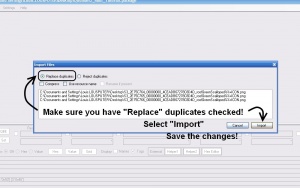
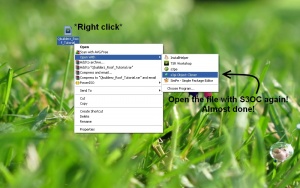
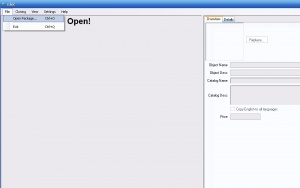
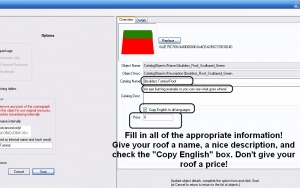
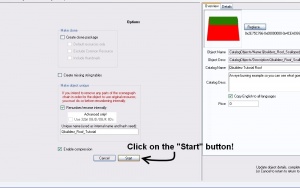
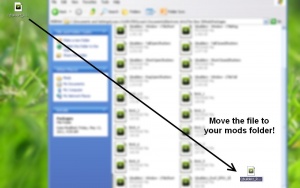
In order to read this tutorial properly, follow it like a book. The top left corner marks the beginning then you read left to right. The tutorial hase been broken into smaller sub sections so it doesn't get too confusing or overwhelming. If at any point you can't read the text (which I expect) you can click on the image for a larger version. Good luck!
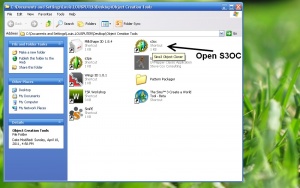
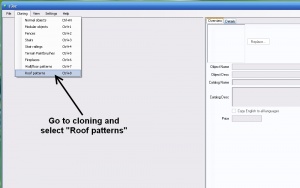
| Steps #1 to #7 -- Exporting the File (*) |
|---|
  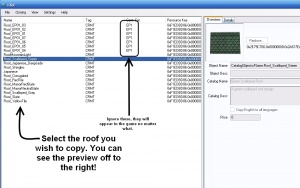 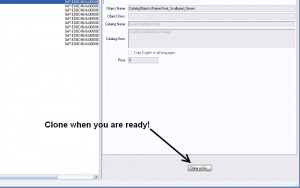
|
| Steps #8 to #12 -- Extracting your Textures (*) |
|---|
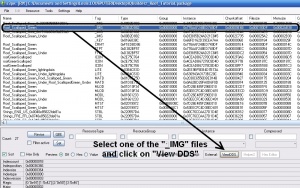 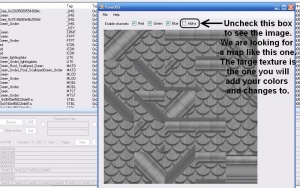  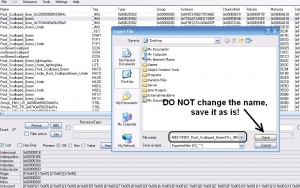
|
| Steps #13 to #20 -- Saving and Reimporting (*) |
|---|
| Steps #21 to #25 -- Repeating the Process (*) |
|---|
  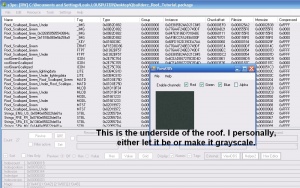 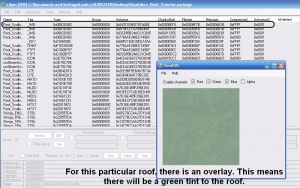
|
| Steps #26 to #37 -- Fixing the Stupid Broken Thumbnails! (*) |
|---|
| Steps #38 to #44 -- Repairing the File (*) |
|---|
| Steps #38 to #44 -- Showing Off your AWESOME New Roof (and Testing, of Course!) (*) |
|---|
| Tutorials by Category | |
|---|---|
|
CAS | Patterns | Objects | Building | Worlds | Modding | Modding Reference |
