Tutorials:Taking Totally Bitchin Pics/Runway or Catwalk Set
Yes, yes, we all make VERY pretty pixel dolls, don't we? Well, if you've got some skinny little model in a ridiculous outfit and funky makeup that just HAS to strut down a runway, here's how to make a pretty one.
You'll need Open for Business for the stage tool. Ain't gonna work right without it. Sorry.
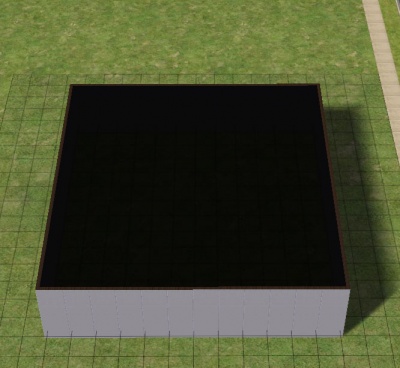
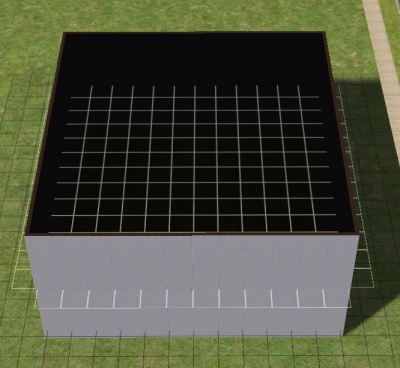
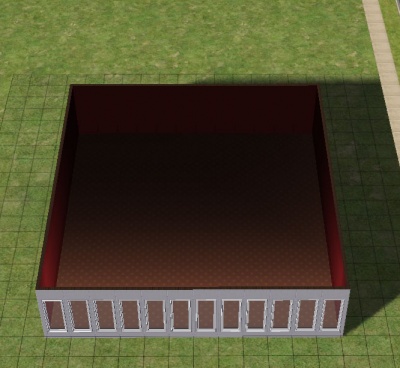
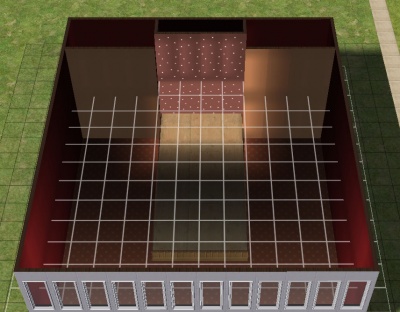
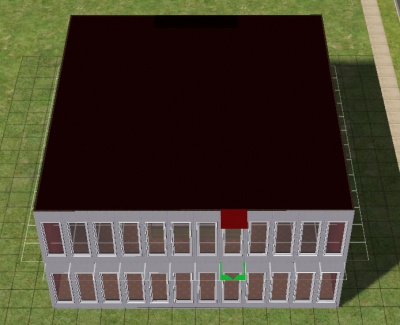
1. Start by making a big ol' box on your empty lot.2. Then trace over that box on the second floor. You now have a two-story box.
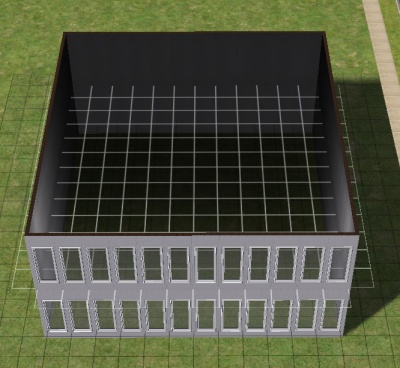
3. Line the front wall of the box with windows. Remember, there is a direction to the lighting coming into your lot, so the front is whichever way the light is coming from. Do the same on both levels.
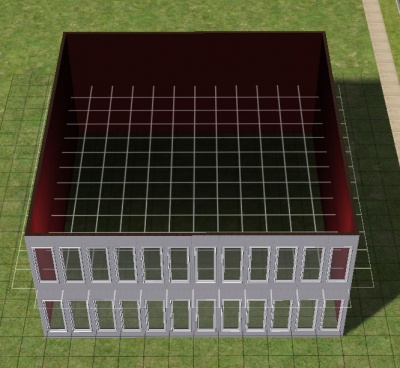
4. Add a nice basic wall texture to both levels. I like blood red paint. You use whatever you like. This probably won't show much.
5. Cover the floor of the bottom level with a nice floor.
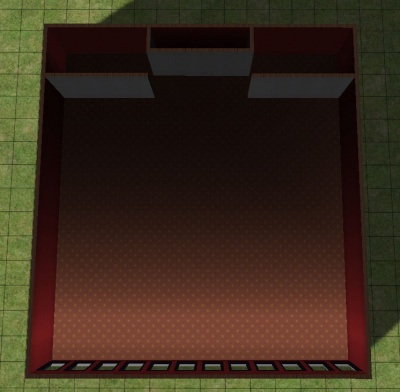
6. Let's add a little detail to the back wall. Catwalks always have interesting little entrances for the model. Add a one-tile box along the middle of the back wall, and little wall pieces extending in, leaving a two-tile space from the back wall up to the edge of the box as shown. Make sure you trace over these pieces on the top level too, so they extend up to the second level.
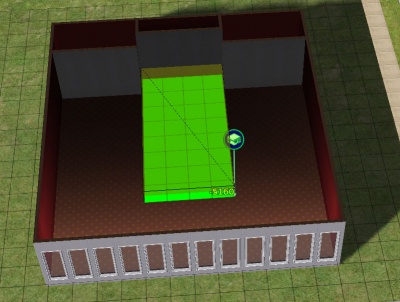
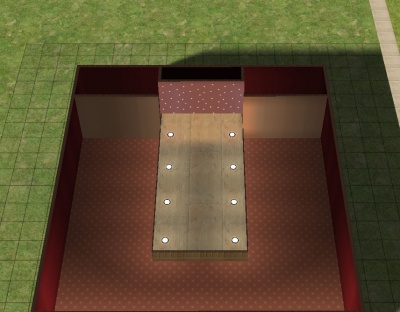
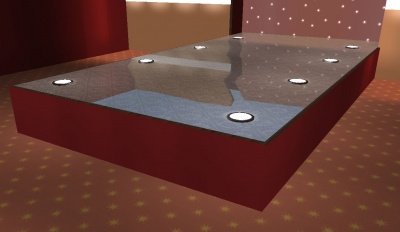
7. Now use the Open for Business stage tool to make the actual runway itself. Start in the little corner made by your wall pieces in the back, and out into the room. Leave some space in the front.
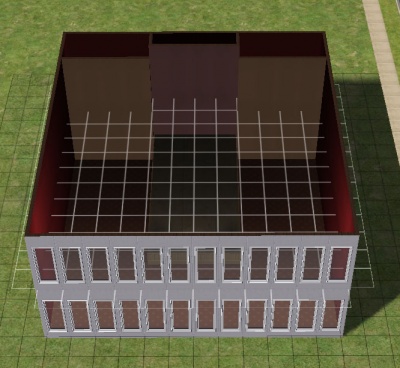
8. And put some pretty wall textures on those extra bits of walls you added. Again, both floors.
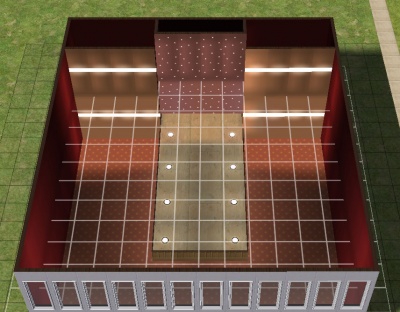
9. Now it's time to light the space. Start by adding lights on the middle box part. I'm using the Starlamps by Xanathon at MTS2. Turn on the lights when you have added them to both the top and bottom floors.
In order for objects on both the top and bottom floor to show at the same time, you'll need to make sure that Object Hiding is turned Off in your game's graphics options.
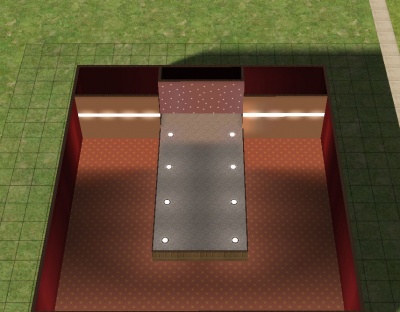
11. Along the other walls, add some other lighting. Again, I'm using lighting from Xanathon at MTS2, this time the wall-mounted light panel. Remember to add a set to the second level, and to turn them on, too.
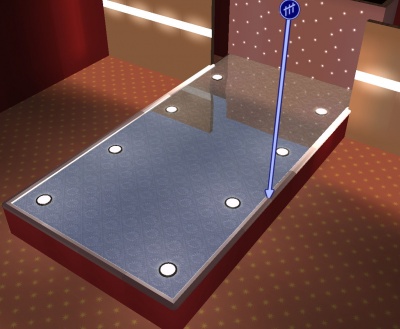
12. And add a nice floor texture to the runway itself.
13. This part isn't required, but can look really cool... there are some really neat objects available from Murano Mobilia - flat pieces that lay over any floor tile and make them reflective and shiny. I've gone ahead and added these to my floor.
You will need to make sure Reflections are turned on in your game's graphics options for them to be shiny - otherwise they'll just look opaque black.
For that I'll be using the Visible Ceilings by jgwhiteus at MTS2, with my blood red recolour, also available at MTS2.
Cover the entire second floor with ceiling tiles. It'll basically look like a flat roof. You will have to do it one by one. It can take a while.
Normally with those ceiling tiles you'd need to flip them down so you could continue working on things on the second floor, but we're about done with things there, and you'd have to save, exit the lot, go back to the neighborhood, and back into the lot for them to show up with the proper recolour after being flipped down. Luckily, we don't need to do that.
You may notice the sky is back in my pic - that's because I'm on the lower level, so the top floor (and the ceiling on that level) isn't visible. It won't be that way for pics.
For that, I'm using these awesome little Edge Smoothers fence by Ailias at MTS2 to give my stage a nice clean, finished look. I've left the last little tile at the back of the stage without a smoother, as our models might trip over that little edge when going backstage.
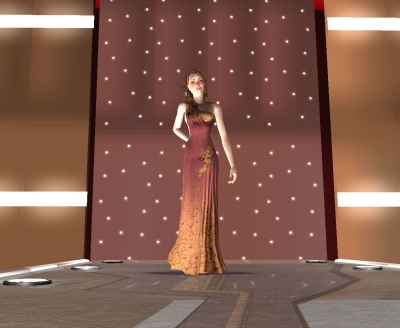
Use moveobjects on to place your model at the end of the catwalk, and click "walk here" toward the middle of the end of the catwalk to get them in a nice, natural in-motion pose.
When you use TAB to go into Cameraman Mode, you will still see the sky reflecting in the floor, and the second level will not be visible. Use the Page Up key on your keyboard to raise the walls of the next floor, and with it, the ceiling. When you are in Cameraman Mode, your camera will stay at the same place when you hit this key - it will just pop up the next floor's walls.
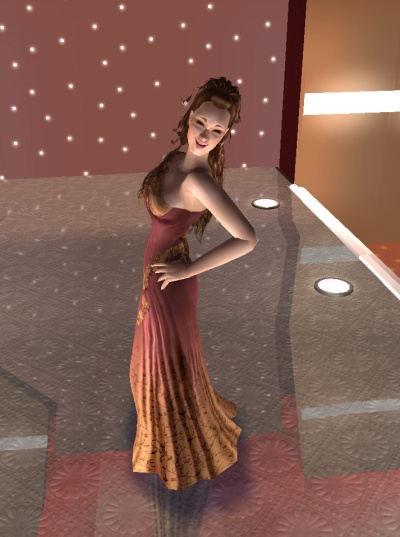
My walls are a little bit patchy with lighting up on the second floor in this pic - this is due to not even having a real graphics card. If I were using this pic for a story, clothing release, or contest, I would want to open up Photoshop and do some work equalizing that strange lighting. More on that type of edit in later sections of this tutorial.
Notice how nice the red ceiling looks with the reflective floor - picture the same pic with a blue sky showing. Much better than that, eh?
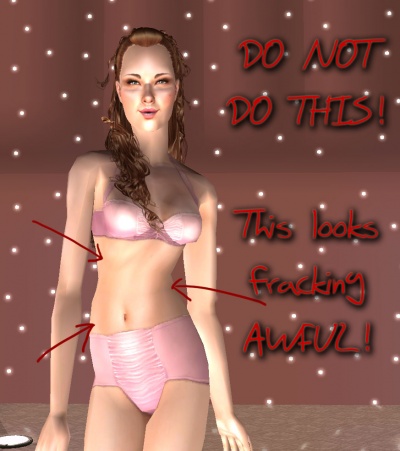
Note the pose in the picture to the right.
The human body does not move like that. The skew of the belly vs. body, especially in meshes that have a slimmer waist to hip ratio, looks alien and will totally ruin any attempt at sexyness, feminine beauty, or aesthetics you're going for.
Do not take pictures of that part of the model walk unless you're just shooting the upper torso, breasts and up.
PLEASE.
I beg you.
Thanks.
