User:Armiel/Upload Wizard FAQ
UPLOAD WIZARD FAQ
Hi All, and welcome to the FAQ about the MTS Upload Wizard.
The following posts and screens will take you through the stages of the wizard and list some things you might need to know.
Click on "More info" on the category to see the upload stage
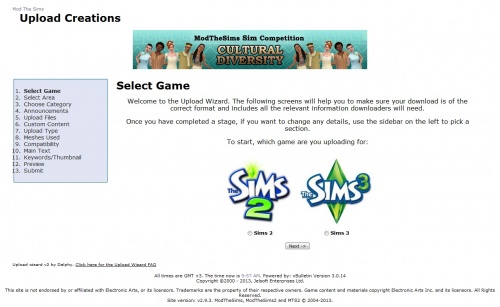
| Stage 1 - Select game |
|---|
|
This stage let's you select which game you are uploading for. Once you have made your selection, click Next. |
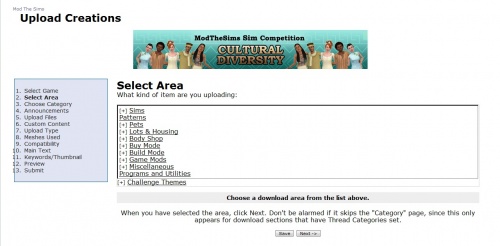
| Stage 2 - Select Area |
|---|
|
This stage let's you select which section inside the MTS downloads area you want to upload items to. It works like a normal select box but with additional drill down functionality. Click on the area name to select it and to see any subareas if there are any. When you have chosen your area, click Next. |
| You can also click Save to save your work to continue later. Any saved partial upload will show up on your User Control Panel |
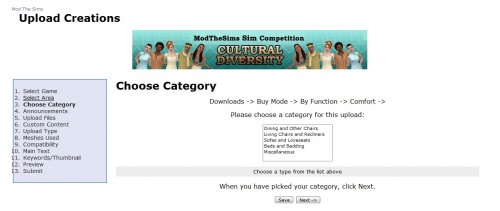
| Stage 3 - Choose Category |
|---|
|
This screen only appears when the area that you have chosen has categories available to choose from - these are mostly the Lots and Clothing areas as well as a few others. If you don't see this screen, don't worry! It just means your chosen area doesn't have any sub-categories available. When you have selected a category (if applicable), click Next. |
| You can also click Save to save your work to continue later. Any saved partial upload will show up on your User Control Panel |
| Stage 4 - Announcements |
|---|
|
This screen shows you any relevant Announcements within the download section that you will need to read. It will also show the Upload Guidelines of selected category. Make sure you have read these before clicking Next to continue! |
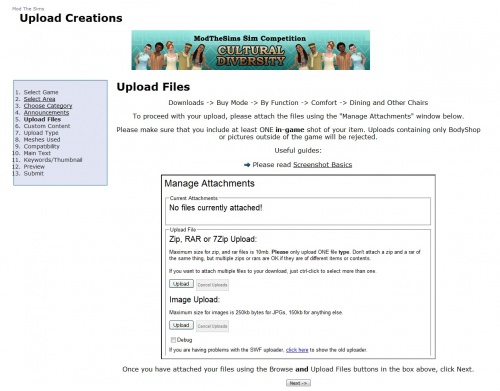
| Stage 5 - Upload Files |
|---|
|
On this stage you need to upload the files for your upload. Click on upload button under "Zip, RAR or 7Zip Upload" and browse to your packaged upload. You can upload multiple files, but only one at a time. Click on upload button under "Image Upload" and browse to your pictures. You can upload 8 images at once, so if you need to upload more (up to 12) you need to do this in two parts:
Once you have attached at least one file and one picture for your upload, click Next. |
| Stage 6 - Custom Content |
|---|
|
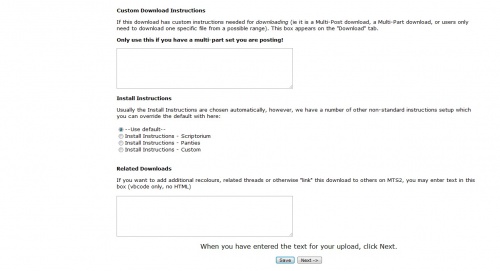
This stage is important! Essentially it examines the zips and rars you upload and looks inside the .package files to get some details. It then queries the Package Database for a match to that information. You will be presented with a series of boxes listing all the package files and a description. You must fill in all the boxes! Put in the following information:
If you created the package file then tick the box but only do this for your own uploads!. If we see custom content "made by you" that obviously isn't, then that is grounds for a rejection. The only exception to this rule is terrain paints where you don't know who made them. In that case only, put in "Terrain Paint" into the title, creator as "Unknown" and Link as "http://" When you have finished filling in all of the boxes, click Next. |
| You can also click Save to save your work to continue later. Any saved partial upload will show up on your User Control Panel |
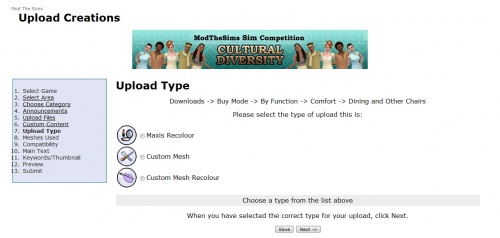
| Stage 7 - Upload Type |
|---|
|
This screen appears only if you are uploading to a section that can hold different types of Uploads - generally most areas except Lots, Sims, and the Game Mods sections. Choose what kind of upload you are making, then click Next. |
| You can also click Save to save your work to continue later. Any saved partial upload will show up on your User Control Panel |
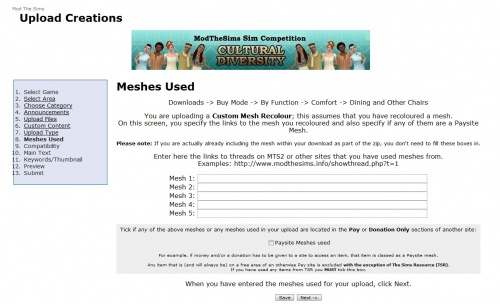
| Stage 8 - Meshes Used |
|---|
|
This section appears only when uploading either:
You need to fill in the details of the meshes you have used, with links, as per the old upload screen. You must also tick the box if any of those meshes are from paysites and in a pay area. When you have done so, click Next. |
| You can also click Save to save your work to continue later. Any saved partial upload will show up on your User Control Panel |
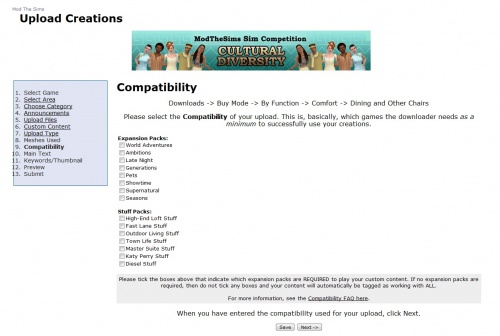
| Stage 9 - Compatibility |
|---|
|
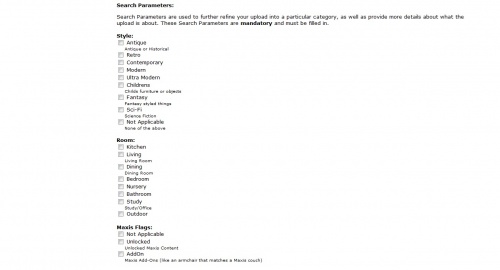
This is where you need to mark all the EPs and SPs required for your upload to work, as well as the TS3 Base game version (if applicable) if you are uploading for TS3. TS2 lots: If you have built a lot with Any Game starter, you only need to mark the used games. Otherwise you need to mark all games you have installed as required. TS3 Base game version: Make sure you mark the Base game version, and not an EP/SP version! When you have marked the required EPs and SPs, as well as the TS3 Base game version (if applicable), click Next. |
| You can also click Save to save your work to continue later. Any saved partial upload will show up on your User Control Panel |
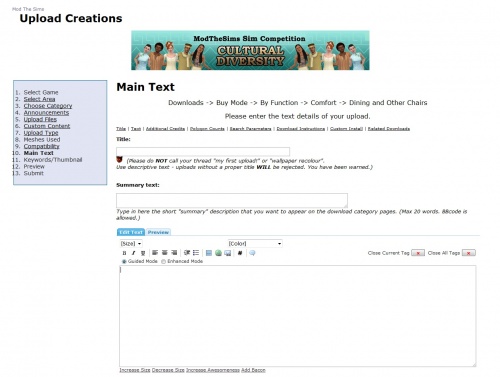
| Stage 10 - Main Text |
|---|
|
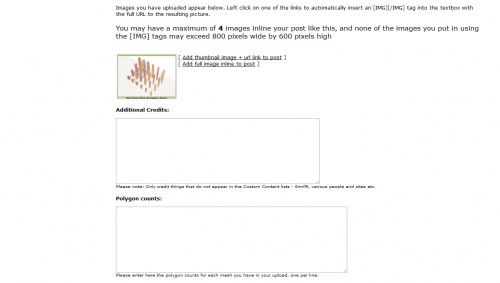
On this screen you type in the usual details about your upload - title, main text, everything the downloader needs to know about your upload! The upload wizard also has extra boxes:
When you have entered all the information, click Next. |
| You can also click Save to save your work to continue later. Any saved partial upload will show up on your User Control Panel |
| Stage 11 - Keywords/Thumbnail |
|---|
|
Here you select the default thumbnail that you want to appear on the download screen, as well as input any search keywords (tags). When you are done, click Next. |
| You can also click Save to save your work to continue later. Any saved partial upload will show up on your User Control Panel |
| Stage 12 - Preview |
|---|
|
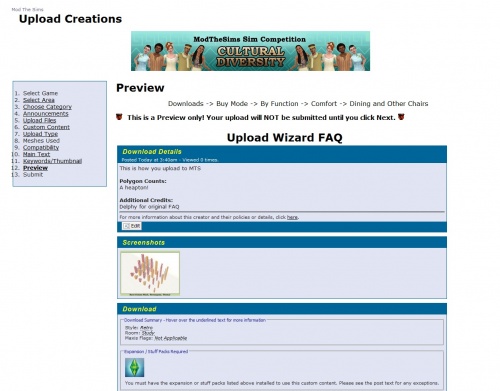
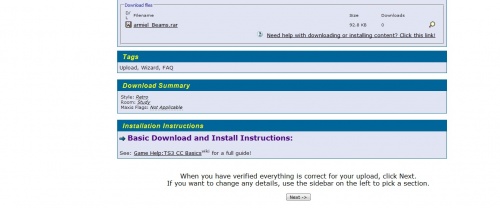
This screen shows you a preview of your upload as it would appear on MTS. Make sure to double check everything, including custom content lists, main text, lot size, poly counts, etc. If everything looks as its suppose to, click Next. Otherwise go back to the stage you need to edit. The filled in information on the preview pictures is purely filled in for the purpose of this FAQ, and does not give a good example of what your text should be like, nor even make sense in parts! |
| Stage 13 - Submit |
|---|
|
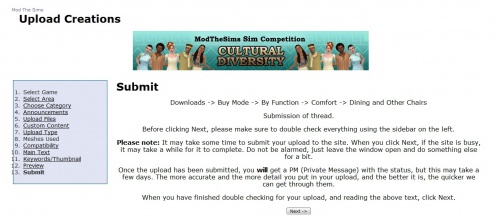
This final stage details what will happen when you submit your thread and also gives you the final opportunity to go back and check anything that you might have missed. When you click Next your upload will be submitted to the site. |
If you have any further questions about the Upload Wizard, please post in the Site questions and issues forum.
