Difference between revisions of "Tutorials:Simple Mesh Replacement In Blender"

From SimsWiki
Jump to: navigation, search
(Created page with " {|style="border-spacing:8px;margin:0px -8px" |- {|style="border-spacing:8px;margin:0px -8px" |style="width:50%;border:1px solid #cef2e0;background-color:#C9C8E6;vertical-alig...")
 
Line 34: Line 34:
  
 
{{WizardOption
 
{{WizardOption
|link=Tutorials:CAS Creation From Start-To-Finish - Meshing
+
|link=Tutorials:Simple_Mesh_Replacement_In_Blender-Cloning
 
|text='''Part 1: Cloning'''
 
|text='''Part 1: Cloning'''
 
}}
 
}}
 
|}
 
|}
 
|}
 
|}

Revision as of 21:41, 22 January 2013


Contents

Introduction

This tutorial will show you a simple example of cloning a Sims 3 object and replacing its mesh with one created in Blender 3D. You will learn the basics of mesh replacement with Blender, including creating a mesh, unwrapping, and UV mapping.

Skill Level

This is for beginners. It is to be considered a introduction to using Blender for Sims 3 object creation. Although some basic Blender functionality will be covered, this is not a tutorial to teach how to use Blender. I suggest trying some of the many Blender tutorials to learn how to use Blender efficiently. I'll be more focused on using it for Sims 3.

Prerequisites

I strongly advise going through Setting Up Blender 2.5 for For Object Creation as I will be using this setup and it could get confusing if you don't. I also advise getting familiar with navigating in Blender.

What You Need


The Result

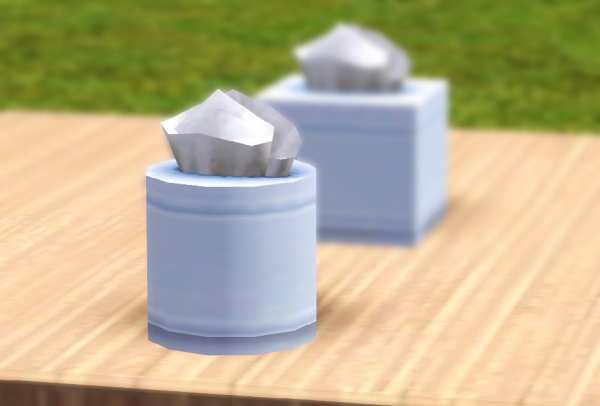
We will be cloning the tissue box, and making it into a cylinder:

Box result.jpg

So, are you ready? Okay, let's get started!


RightArrow.gif

Part 1: Cloning

Personal tools
Namespaces

Variants
Actions
Navigation
game select
Toolbox