Tutorials:New Hair Textures
Contents |
Creating New Hair Textures
This tutorial explains the basic techniques to create new, unique hair textures that both look realistic and don't require much (if any) hand-painting. This can be done with a mouse, so you don't have to have a graphics tablet to do it. Certain parts are easier if you have a tablet, but it's not required.
This tutorial is mainly geared toward creating hairs for The Sims 3, but the same basic techniques work just fine for Sims 2 hairs as well.
What You Will Need
- Adobe Photoshop. This might be doable in other programs but you absolutely need the "Warp" transform type which is a feature of Photoshop CS and higher. If your program does not have an equivalent transform type, this will not work, or at least, will not work nearly as well.
- The UV Map of the hair you are retexturing. You can get this from UV Mapper or Milkshape. I'm not explaining here how to get that - this is textures only.
Skill Level/Difficulty
Medium/High: This tutorial assumes you are comfortable in Photoshop and have used it extensively before. While I will tell you what functions to use and how, I will not be walking you through every little basic step.
The Tutorial
Okay, let's begin... Remember, all pictures below can be clicked for larger versions - they're just shown smaller here for ease of reading.
Create a Base Texture
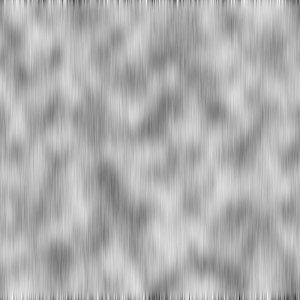
The first thing to do is to create a nice basic "hair" texture that we can use bits and pieces of. This is actually remarkably easy in Photoshop - almost too easy.
Create a new document. This needs to be quite large so you have lots of different areas to work with. 2000x2000 is a good size.
Set your foreground and background colours to the default - black foreground, white background (or press D on your keyboard).
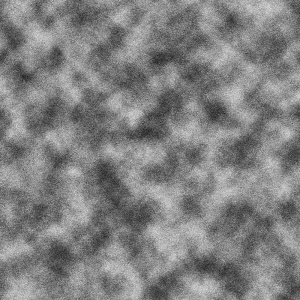
Filter > Render > Clouds. Your document will fill with black and white clouds.
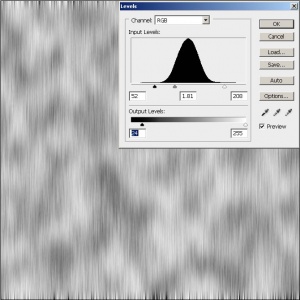
Input Levels:
Black: 52
Midtones: 1.81
Highlights: 208
Output Levels:
Black: 24
White: 255
Now you have a nice base texture that you can use again and again. If you like, you can experiment with this technique to create different effects. Here are some ideas of things you can try to change it up a bit:
- Before rendering clouds, set your foreground and background colour to light and dark grey instead of black and white. Black and white gives you a nice range of shadow, highlight, and midtone. Set to shades of grey (light and dark) for less range, and a straighter, less wavy hair texture.
- Get a big fuzzy brush and paint blobs of light and dark instead of rendering clouds. This gives you more control over where the shadows and highlights will be on your texture.
- After doing Filter > Render > Clouds, do Filter > Render > Difference Clouds, four times (do it once, and then CTRL-F 3x to run it three more times). This will create much smaller blobs of light and dark, which will create a much wavier looking texture.
Create Hair Piece
Obviously, you can't just slap your whole texture on your hair mesh. You have to break it up into little pieces and add nice strands to it. Doing that is actually pretty easy...
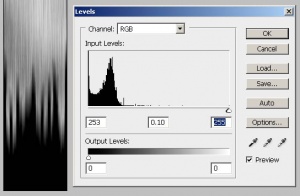
Under Input Levels, drag both the black and grey (midtones) arrows all the way to the right, as far as they'll go. Under Output Levels, drag the white arrow all the way to the left, as far as it will go. You'll see all of the lighter grey fuzziness below the main edge disappear, leaving a fairly hard set of black streaks.
Copy Hair Piece. CTRL-Click on the thumbnail for "Black Streaks 01" in the Layers window. You'll see that it will have selected just what you have on that layer (it may not exactly follow the edges due to partial transparency). Then Select > Inverse (CTRL-SHIFT-I) to invert your selection, so everything BUT the black streaks is selected. In the Layers window, choose your "Hair Piece 01" layer. Copy it (CTRL-C).
Save. Save your document as a PSD file. Call it something descriptive like HairPieces.psd
Place Hair Piece
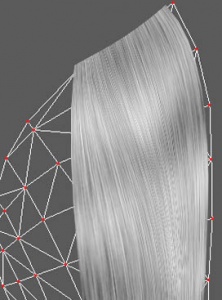
You've already got the piece of hair copied - now you just need to stick it in place on top of your UV map.
Open UV Map. Open up the document for your UV Map. Make sure it's 1024x1024.
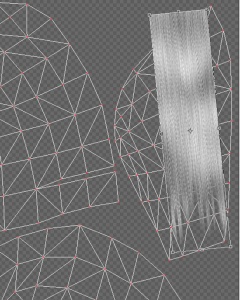
Paste Hair Piece. Paste (CTRL-V) the hair piece you copied into a new layer. Call this layer "Hair Piece 01"
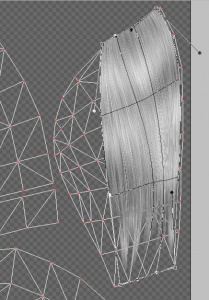
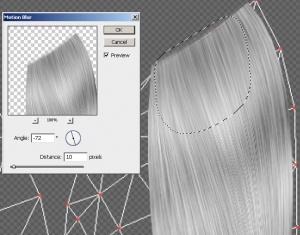
Filter > Blur > Motion Blur. This time, set the angle so it follows the angle of the hair. You may have to adjust this bit by bit so it matches as closely as possible. Set the Distance as low as you possibly can go. Start at 5 and work your way up from there until the banding effect is greatly reduced or eliminated. You probably don't want to go higher than 20 on the distance or it will get too blurry.
Repeat for the rest of the banding on the piece of hair, doing it bit by bit, only selecting chunks of hair that all go in the same direction. Make sure to readjust the Angle and Distance for each one.
Repeat
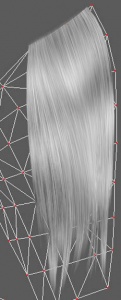
To complete the rest of your texture, you just do the "Create Hair Piece" and "Place Hair Piece" sections until you've covered your UV Map with pieces of hair. You can always do thinner or shorter hair pieces and make specific shapes when you're doing the black blobs of strands to fit the kind of hair you want in certain areas. You can change the order of your hair piece layers and layer them on your hair to make interesting effects.
